Stonevy Grill is now tax free! Order soon!

Stonevy Grill is now tax free! Order soon!
Approaching my third catering job with a pragmatic mindset, I meticulously preplanned my runbook to ensure a smooth operation. On the menu were Charcoal Grilled Char Siu smoked with Cherry Wood, Vegetarian Rotini with Broccoli and Mushroom Delight, and BBQ Smoked Chicken Legs—each crafted for culinary satisfaction.
The Charcoal Grilled Char Siu: I marinated the Char Siu overnight and proceeded to smoke and grill it on Sunday over charcoal and cherry wood. After a day of mellowing, a simple warm-up, maltose glazed, and a quick broil on the event day resulted in an authentic grilled flavor.

BBQ Smoked Chicken Legs: A meticulous preparation unfolded as the legs were brined, briefly dipped in hot water, patted dry, and left to chill overnight. Seasoned and smoked on the morning of the event, they emerged as a smoky sensation.

Vegetarian Rotini with Broccoli and Mushroom Delight: The Vegetarian Rotini took a practical approach. Ingredients were prepped the night before, and on the event day, the dish came together in a pan with garlic, shallots, broccoli, and spices—a savory ensemble.

Valuable Lessons: Amidst the tasks, a crucial lesson emerged—avoid hefty orders with limited fridge space. The runbook, designed with ample buffer time, proved essential in giving each dish the attention it needed.
The catering event unfolded as a practical exploration of smoked and grilled delicacies. Each dish had its own narrative, shaped by preparation, patience, and a touch of creativity—the essence of a successful catering endeavor.

 We served ours with pretzel pieces!
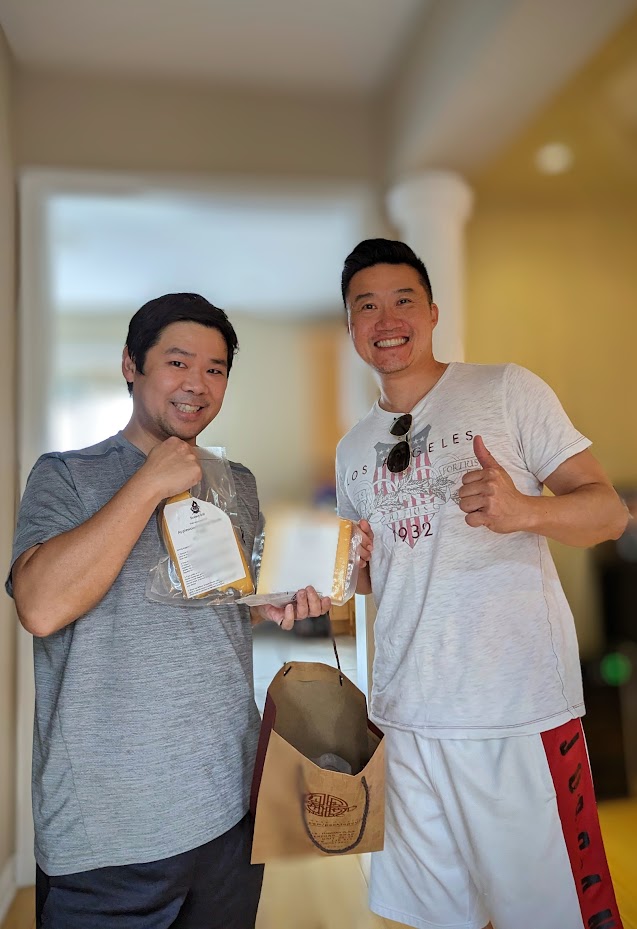
We recently had the pleasure of delivering a catering order that showcased the very essence of our culinary philosophy. From the succulent smoked beef brisket to the tender whole smoked chicken, every dish was crafted with love and a commitment to delivering a memorable dining experience.
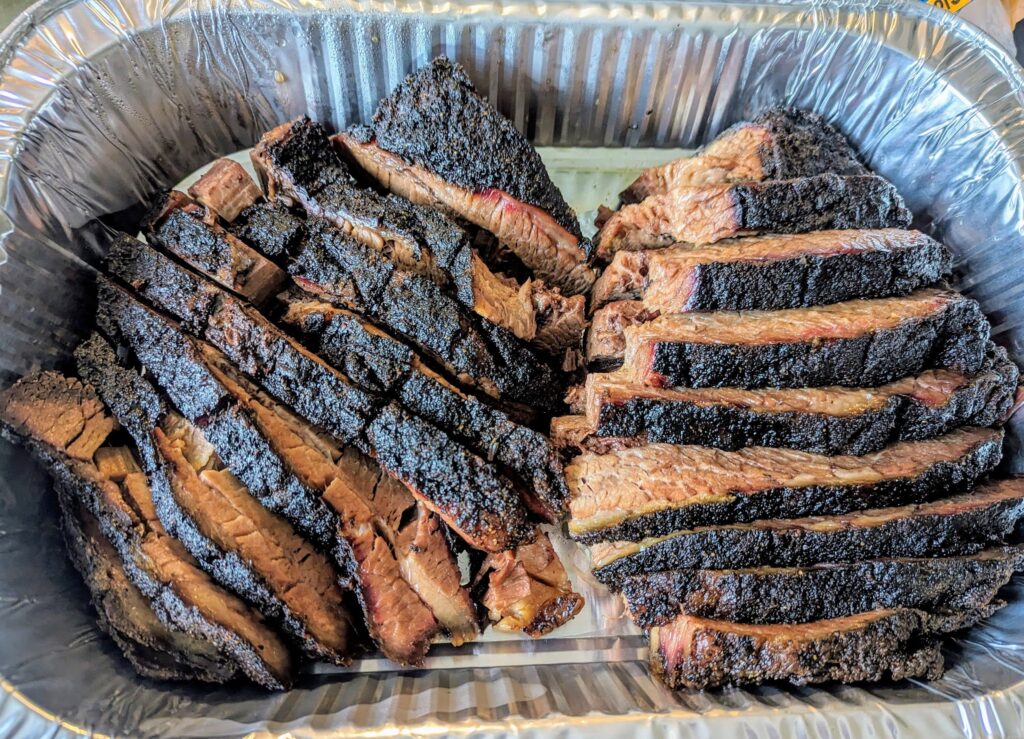
Smoked Beef Brisket: Our smoked beef brisket is a labor of love, slow-cooked to perfection until it reaches that melt-in-your-mouth tenderness. After hours in the smoker, we take the extra step of resting it in the oven for a full 24 hours. This process allows the flavors to deepen, creating a brisket that’s not just smoked but truly infused with the essence of the hardwood. The result? A masterpiece of smokiness and succulence that will leave you craving more.
Whole Smoked Chicken: Our whole smoked chicken is a true crowd-pleaser. Treated with a two-step process to ensure irresistibly crispy skin, the meat beneath remains juicy and succulent. The smokiness permeates every bite, creating a dish that is a celebration of simplicity and bold flavors, a true embodiment of our commitment to quality ingredients and expert technique.

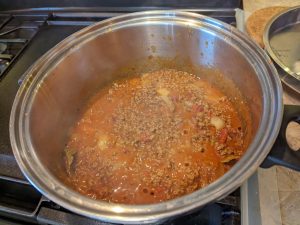
Smoked Gouda and Marble Pasta: Elevate your pasta experience with our smoked gouda and marble pasta. The smokiness of the gouda melds seamlessly with the tomato sauce, creating a dish that’s both comforting and sophisticated. To add an extra layer of indulgence, the pasta is melted on top, resulting in a harmonious blend of textures that will leave your taste buds dancing.


Coleslaw: Our coleslaw is a refreshing counterpoint to the hearty smoked meats. Crisp cabbage, carrots, and a light yet creamy buttermilk dressing come together to create a coleslaw that’s both crunchy and flavorful.

Curious to experience the magic of our home kitchen for yourself? Contact us for your next event or place an order for a delightful home-cooked meal. We look forward to bringing the warmth and flavor of our kitchen to your doorstep.


Embarking on a smoky adventure, I recently delved into the realm of Char Siu Pork using the incredible Woodwind Pro 24 Smoker. Armed with a competition pellet blend of Oak, Cherry, and Applewood, along with the tantalizing combination of charcoal and cherry wood chips in the smoke box, I set out to create a symphony of flavors that would redefine the art of Char Siu.
Perfect Smoke Combination:
To ensure the utmost tenderness, I began by tenderizing the pork shoulder with a spiked tenderizer mallet. Afterward, I placed the pork in a vacuum-sealed container and allowed it to marinate in the refrigerator for 2 hours. This shorter marinating time would still infuse the meat with the essence of the Char Siu blend, while providing ample flavor development.
With the Woodwind Pro 24’s exceptional versatility, I loaded the hopper with a blend of Oak, Cherry, and Applewood pellets, laying the foundation for an exquisite smoky flavor profile. To further enhance the aromatic experience, I introduced charcoal and cherry wood chips into the smoke box. This combination created a multi-layered smoky richness that would take the Char Siu to new heights.
Heating Up and Glazing:
Instead of slow and steady smoking, I decided to heat up the smoker to 350°F for a more accelerated cooking process. Brushing each side of the pork with a mixture of honey and marinate, I diligently turned the meat every 15 minutes until it reached an internal temperature of 165°F. This ensured a juicy and perfectly cooked result, with no additional searing required.
Adding Shine and Finishing Touch:
After reaching the desired temperature, I took the succulent char siu off the smoker and embarked on the final step. To enhance its visual appeal, I generously covered the pork with melted maltose, creating a beautiful glossy sheen that added a touch of elegance to the dish.
Tasting the Delights:
The moment of truth arrived as I sliced into the glistening Char Siu Pork. Each tender and flavorful piece showcased the perfect balance of sweet and savory notes, combined with the alluring smokiness from the Woodwind Pro 24’s pellet blend and the richness from the charcoal and cherry wood chips. The char siu had achieved a delightful caramelized exterior and a juicy, succulent interior that left an unforgettable impression.
Conclusion:
The Woodwind Pro 24 Smoker proved to be the ultimate partner in my quest to elevate Char Siu Pork. Its versatility, precise temperature control, and the ability to combine different smoke elements allowed me to create a truly exceptional dish. The accelerated cooking process at 350°F, combined with the honey-marinate glaze, delivered remarkable results, resulting in juicy, tender, and perfectly smoked pork. The final touch of melted maltose added a captivating shine to the char siu, elevating its presentation.


I recently got my hands on the Iwatani Portable Gas Grill BBQ Stove ABURIYA2 CB-ABR-2, and I couldn’t wait to unbox it and give it a try. Known for its exceptional build quality and versatility, this Japanese-made grill promised to bring convenience and delicious grilled flavors to my culinary adventures. Join me as I share my unboxing experience and provide my initial impressions of this portable gas grill.
Unboxing and Build Quality: Upon receiving the Iwatani Portable Gas Grill, I was impressed by its solid construction and attention to detail. The grill is well-built and showcases the renowned craftsmanship of Japanese products. From the sturdy materials to the thoughtful design, it exudes a sense of durability and reliability.
Versatility and Cooking Options: One of the standout features of the Iwatani ABURIYA2 CB-ABR-2 is its versatility. Whether I wanted to grill directly on the grate or enjoy yakitori-style cooking, this grill delivered excellent results. The ability to switch between different cooking styles added a layer of culinary creativity to my outdoor cooking sessions.
Pros:
The pros of the Iwatani Portable Gas Grill were evident from the start. Its impressive build quality ensured a long-lasting product that I could rely on for my cooks. The versatility it offered allowed me to explore various cooking techniques and expand my culinary horizons.
Cons:
While the Iwatani grill had many positive aspects, there were a few downsides worth mentioning. Firstly, it was disappointing to discover that the grill didn’t come with a carrying case or box for convenient storage and transportation. However, I noticed a small detail that Iwatani expects users to keep the box for future use. It’s important to open the box carefully on the side with the tab, as shown in the album pictures, so that the tab can be folded back in and the box can be used to store the grill.
Additionally, the stainless steel grill net proved to be challenging to clean thoroughly, requiring extra effort and time. Lastly, during my grilling session with Korean LA Galbi short ribs, I noticed excessive smoking, possibly due to the high fat content. It’s essential to consider proper ventilation and cooking under a strong range hood or in outdoor spaces to prevent smoke alarms from being triggered. Additionally, I found that the smoke was mainly caused by flare-ups from the marinade and fat dripping onto the grill. To mitigate this, it’s important to regulate the flame and avoid excessive flare-ups by adjusting the heat accordingly.
Furthermore, when I finished grilling outside and moved the grill indoors for cleaning, I inadvertently forgot that the water pan was quite full and ended up spilling it. Therefore, it’s crucial to be mindful of the water pan’s water level and handle it with care to avoid any accidents or spills.
Overall Impression:
The Iwatani Portable Gas Grill BBQ Stove ABURIYA2 CB-ABR-2 provided a convenient grilling experience that surpassed traditional charcoal grills in terms of convenience and ease of use. Its exceptional build quality and versatile cooking options made it a valuable addition to my outdoor cooking arsenal. However, it’s important to consider the potential smoke production and take necessary precautions such as cooking under a strong range hood or in well-ventilated areas. Additionally, keeping the box for storage purposes and opening it carefully on the side with the tab ensures that you can safely and conveniently store the grill after each use.
Remember, while using the Iwatani Portable Gas Grill BBQ Stove ABURIYA2 CB-ABR-2, it’s always recommended to carefully read and follow the manufacturer’s instructions. Additionally, utilizing Google Lens or any translation tools can be helpful for understanding any instructions or labels on the equipment. Enjoy your grilling experience while prioritizing safety and being mindful of potential smoke production and water pan handling.
Please stay tuned for a more detailed review as I continue to explore the capabilities of the Iwatani Portable Gas Grill BBQ Stove in future cooks!
We had our first real customer today! Thank you!!!